Saturday, April 19, 2014

Bunny Ears and a Kiwi Crate Update


So the hubby was gone for the three weeks leading up to Easter. Luckily I'm a planner and already had all my Easter and Easter basket fillers before he left so I didn't have to try and buy them when the boys were with me. One of our pre-Easter activities was an Egg Hunt for a play group we are apart of. I volunteered to organize the craft and came up with a super easy bunny ears craft for the Littles to do. This craft was great because I preassembled everything so that the day of the Egg Hunt there was very little for the kids / moms to have to do, but they got a really cute craft out of it.

I'm all about shortcuts and making things easier, not harder. So I freehand just drew an outline of the bunny ears. The larger one was for the outer white part of the ear and the smaller was for the inner pink part of the ear.

After making the template I traced it onto the pink and white papers and cut them out. Here's a couple tips for cutting things out when you need to cut multiples... when it's small enough fold the paper in half (which is what I did for the pink papers). This way you trace and cut less. Because the white part was bigger I could only fit three ears to a page and couldn't fold in half so I stapled the edges to keep the paper from shifting when I was cutting. I didn't need to staple the pink paper because when it is folded it will stay together when you cut it. I had to make fifteen sets so I needed 30 of each piece. With the pink I just folded all the paper together so I just had to make 5 cuts and I had all 3 pieces. Be careful about trying to cut too much at once. I could cut through about 6 pieces of paper. If you try to cut too much your cuts will get messy and your scissors won't be able to cut through it all.

The next step is to glue the pink center to the white outer ear. I used a glue stick to glue it because liquid glue will make it wrinkly and the glue stick will keep it smooth.

After that I glued the ears to the headband piece. Because I'm a former teacher I used a bunch of old sentence strips that I still had. I did use liquid glue for this step because it has a stronger hold and I didn't want the ears falling off. I just put a little at the bottom of the backside of the ear and stuck it on to the sentence strip. If you don't have sentence strips you can take a piece of construction paper, fold it horizontally or "hot dog" (so it's longer). Then cut along the fold. Staple or glue the ends of one side of each strip together to make a long band.

Then I just laid them all out to dry flat. The next step is what we did at our playgroup outing. Using the liquid glue I did a thin line through the middle of the exposed white part of the ear. Then I took cotton balls and stuck them in the glue. I pulled my cotton balls apart to spread them out and use less cotton balls. But you can just grab them and stick them too. I did one ear at a time so the glue didn't dry before I got them cotton balls stuck on. I don't recommend using a glue stick for the part. The cotton balls might stick at first but the glue won't old as log and they'll be falling off before you know it.


Now the only step left is to wrap around child's head to fit the band and then staple to hold the ends together. I don't recommend stapling while band is near child's head.

Now depending on how big kiddos head is, you may need some reinforcement on the back to keep the ears sticking up. You can use Popsicle sticks or straws. I just so happened to have straws at hand so I cut one straw in half and taped it to the ears.

Thing 1 didn't want anything to do with making ears at the Egg Hunt so he let me use his as an example for everyone else.

As you can see he was less than thrilled to be wearing the bunny ears!

Here are a few photos from the Egg Hunt! Here's our craft table all set up and ready to go!


Look at this Little! Isn't he just the most adorable thing ever?!


This is my friend who's the mom of the two twin Littles pictured in the bunny ears since my own Things were so uncooperative! Aren't they just the cutest? She's the super mom who coordinated the egg hunt for the play group!

Here's her other Little He's just a ham for the camera!


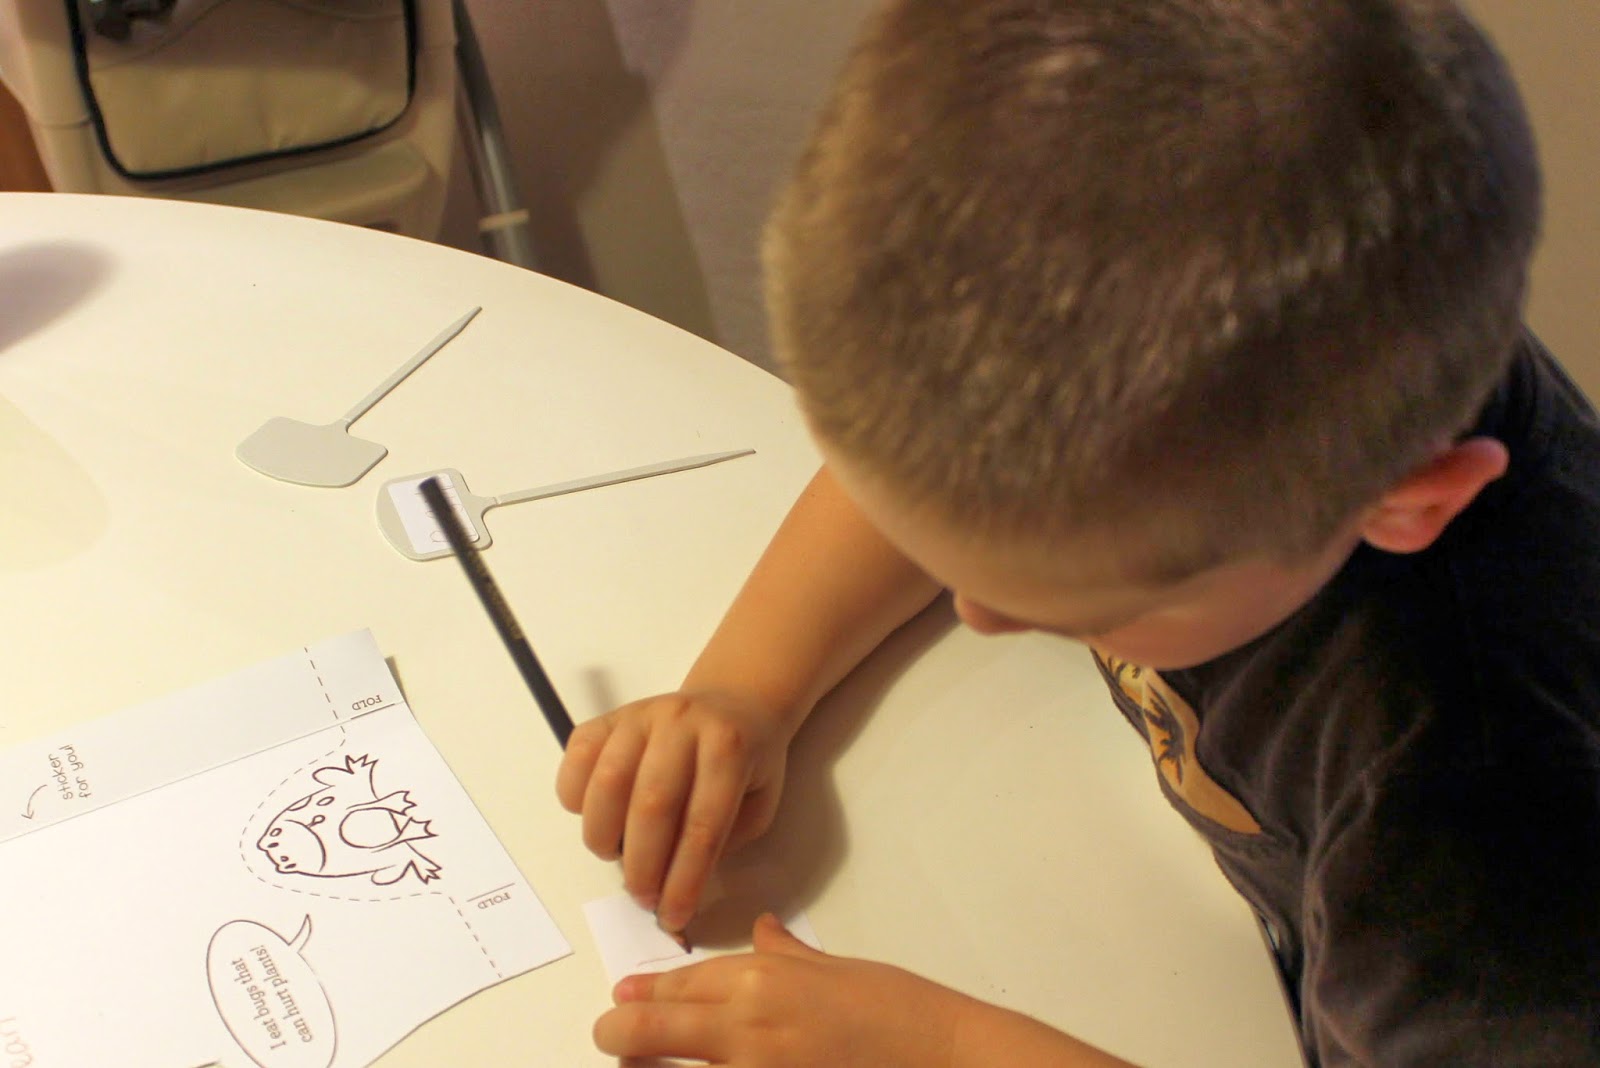
Now I have to be honest... if it wasn't for Thing 3 taking the longest nap ever and Thing 1 and 2 being distracted by a Kiwi Crate activity I don't know how I would have gotten this done. So here's the other project that came with our last Kiwi crate with the plants theme.

It was super easy and the boys could pretty much do it unassisted. First they had to color the flowers and plants. Then they punched them out and stuck them on pipe cleaners. After that they decorated the pots with modeling clay, put a little modeling clay in the bottom of the pot and stuck the pipe cleaners in the modeling clay in the pot.Super easy and fun and it kept them busy!


Thing 1's pots

 Thing 2's pots

 We made a garden!

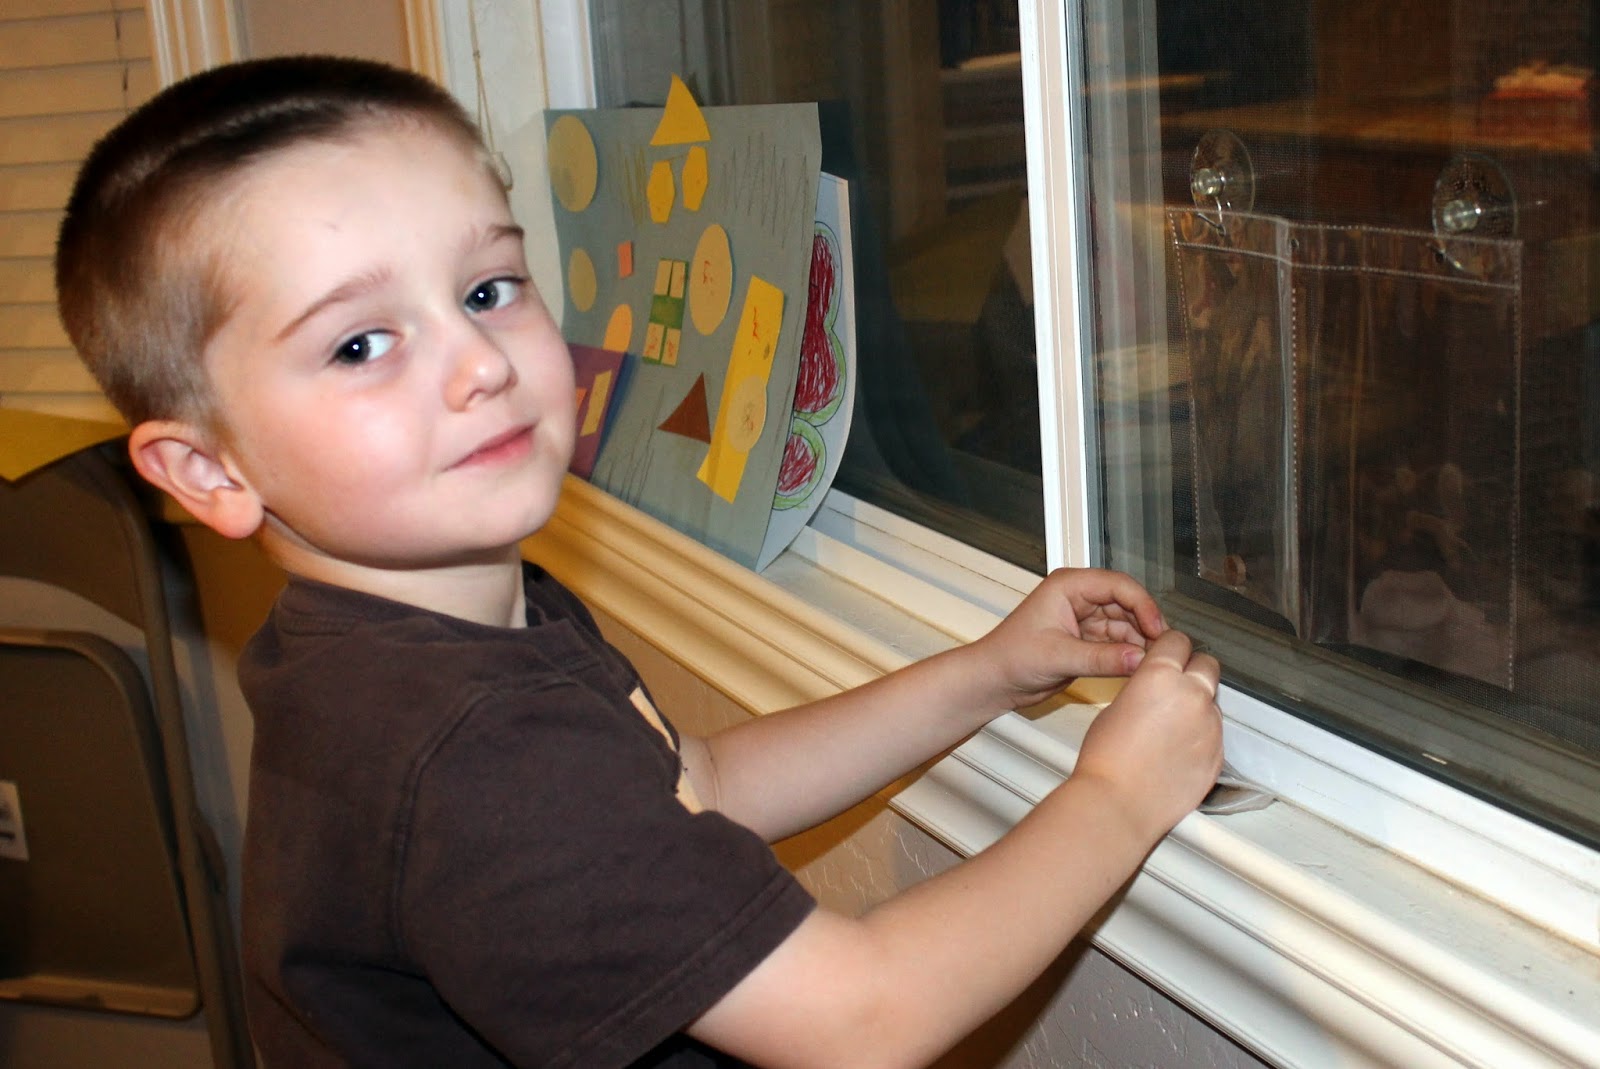
And it was only fitting that we put our flower pots with our window garden. Can you believe how much these seeds have grown in two and a half weeks!? I love that every time I'm at the sink I get to see all this!

Thing 1's plants

Thing 2's plants

Monday, April 14, 2014

Baked Coconut Crusted Chicken

Have I got a recipe for you! These chicken tenders are so good, there's no way you can eat just one. They are so easy to make and I had all the ingredients already in my pantry and refrigerator. I like to buy chicken breasts at Costco. I get the ones over in the refrigerated section. They come with six packets with two breasts in each packet. They are great for us because I just freeze them and pull out a packet when I need it. The breasts are always large and two is more than enough to feed the four of us. This recipe called for tenderloins, so I just cut the breasts into strips to make tenderloin sized pieces. You could also cut them even smaller and make nuggets for the kids or stick them on little toothpicks or sticks for a fun finger food at a party. 

A friend of mine introduced me to the recipe. She had made it the night before and her kids just gobbled it up. I'm always looking for new things for my kids to try, so I decided to give it a shot. She had made a few changes and then when I made it I took her suggestions and then modified it a little more. My kids really liked the chicken but didn't care for the sauce. I did opt to use balsamic vinegar instead of white vinegar. I love balsamic, but it might have just been too much for my munchkins. Here's the Skinnytaste recipe that it was modified from.

Another thing I loved about this recipe.. my kids have been showing more interest in helping in the kitchen, so Thing 1 was my helper and he mixed the coconut crumb mixture, whisked the egg whites, and then mixed the ingredients for the potatoes au gratin (what can I say, I was trying to clean out the pantry). He felt really helpful and these were tasks he could successfully handle without making a huge mess. Here's our end result!

Ingredients:
For the Coconut Chicken
  • 2 chicken breasts sliced into tenderloins
  • 6 Tbsp shredded coconut (sweetened)
  • 1/4 cup Italian bread crumbs
  • 3 Tbsp panko bread crumbs
  • 3 egg whites
  • salt and pepper
  • oil spray (I used my Misto with olive oil in it but you can also use Pam cooking spray)
For the Vinaigrette
  • 1 Tbsp Olive Oil
  • 1 Tbsp honey
  • 1 Tbsp balsamic vinegar (but if you want less tang use white)
  • 2 tsp dijon mustard
Directions:

Whisk all the ingredients for the vinaigrette and set aside.

Preheat oven to 375 degrees.

Cut your chicken breasts into tenderloin sized pieces and season with salt and pepper.

Whisk the egg whites in a small bowl. Combine the coconut, Italian bread crumbs, and panko bread crumbs in another dish/bowl.

Dip tenderloins into egg whites then into coconut crumb mixture. Lay flat on a baking sheet covered with parchment paper (makes for super easy clean up). Spray lightly with olive oil spray. Bake for about 30 minutes or until chicken is cooked completely through. Flip tenderloins once about halfway through for even cooking and to get a nice golden crust on both sides.

Remove from oven. The crust should have a nice caramel colored crust. When you serve the chicken, you can either use the vinaigrette sauce for dipping or just drizzle a little over the whole tenderloin. I opted for a light drizzle so I could keep the calories in check. ;)

Enjoy!

Friday, April 4, 2014

Cheesy Chicken Spaghetti Squash


As I mentioned in the previous post I have a friend who shared a bunch of vegetables from her Bountiful Baskets coop. Besides the zucchini there was also some spaghetti squash... yum! So the recipe I'm sharing today is one I've made before and liked with a few modifications. I actually made this recipe last week before my husband left for three weeks and the baby conveniently got uber sick. Luckily for me it made a lot and reheated well so while I ate the same thing straight for three days, it was easy and good! LOL! Life of a mom! I used this Skinnytaste recipe as a guideline and made a few of my own changes.

A couple things before I share the recipe... a lot of "skinny" recipes that call for cheese use pre-shredded lowfat cheese. I don't like all the chemicals and preservatives they add to shredded cheese just to keep it from sticking, so I prefer to buy block cheese and shred it myself. Then I just use a food scale to weigh out how much I need. I know it adds back calories... but I just personally believe it is healthier. I also added chicken to this recipe. I buy it in bulk at Costco and it comes in packs of two chicken breasts and I just freeze them. For this recipe I had the hubby grill two of the breasts and I chopped it up and added it in. And mine did come out a little saucy... the spaghetti squash were on the small side... so hindsite I wouldn't have added all the sauce. If your spaghetti squash are on the small to medium side, add sauce gradually until you have the consistency you want. I just accommodated by using a slotted spoon when I served it so that some of the sauce drained out.


Ingredients:
  • 2 medium spaghetti squash
  • 1 Tbsp butter
  • 1 Tbsp olive oil
  • 1/4 cup minced onion
  • 1/4 cup flour
  • 2 cups milk
  • 1 cup chicken broth
  • 8 oz shredded cheddar cheese
  • salt and pepper, to taste
  • 2 cooked chicken breasts chopped into bite sized pieces
  • Grated Parmesan cheese to sprinkle on top
  • Grape tomatoes halved (optional)
Directions:

Preheat oven to 375 degrees.

Cut spaghetti squash in half lengthwise. Use a spoon to scrape out and discard seeds. Season with salt and pepper. Place cut side up on a baking sheet and bake for about an hour (until tender).


Use a fork to separate the strands. I find that scraping from the outside shell towards the center of the spaghetti squash keeps the strands in tact and from getting mushy. Place strands in a bowl and discard the shells. Keep oven heating at 375 degrees.


Heat the butter and oil in a large sauce pan over medium heat. Add the onions and cook about 2 minutes. Stir in flour and reduce the heat to low and cook, stirring continually, about 4 minutes.


Add milk and chicken broth, whisking continually while raising heat to medium-high until mixture is boiling and becomes smooth and thick, about 3-4 minutes (mine took a little longer). Season with salt and pepper.


Once it becomes thick, remove from heat and add cheddar cheese. Mix until the cheese is melted and sauce is well combined.


Combine with chicken and spaghetti squash.


Pour into baking dish and sprinkle Parmesan cheese on top.


Bake at 375 degrees for about 30 minutes until top is bubbly and golden. I also had a large amount of tomatoes from the Bountiful Basket, so I added some cut grape tomatoes in the last 10 minutes. I didn't want them to overcook and become mushy so I waited until it was almost done cooking..


Enjoy!

Monday, March 31, 2014

Banana Zucchini Bread


So this week I had a friend share a bunch of veggies with me. There was some zucchini in the box and with the hubby getting ready to go out of town, I wanted to make something I could freeze. I had some very very ripe bananas and decided that Banana Zucchini Bread would be perfect! I found a Pineapple Zucchini Bread recipe in one of my Taste of Home cookbooks and decided to modify it to use bananas instead of pineapple. This bread was a hit in our house and it was so easy to make! Despite my Things refusing to eat ANYTHING green... they just gobbled it up and didn't even notice that there was "green stuff" in it.


Ingredients:

  • 3 eggs
  • 2 medium zucchinis
  • 4 medium very ripe bananas
  • 1 cup vegetable oil
  • 2 teaspoons vanilla extract
  • 3 cups flour
  • 2 cups sugar
  • 2 teaspoons baking soda
  • 1-1/2 teaspoons ground cinnamon
  • 1 teaspoon salt
  • 3/4 teaspoon nutmeg
  • 1/2 teaspoon baking powder
  • 1 cup chopped macadamia nuts
Directions:
Preheat oven at 350 degrees and grease loaf pans (I used one regular size and 2 minis). I use Pam baking spray with flour and things never stick! 

Mash up bananas with a potato masher and finely shred zucchini using a cheese shredder. I like to shred the zucchini over a paper towel so that it absorbs some of the liquid and it makes it easier to dump in the bowl.

 In a large bowl, combine the eggs, zucchini, bananas, oil, and vanilla.

Combine the dry ingredients and stir into the the egg mixture until just mixed. Fold in the nuts. I used macadamia nuts because I like them in banana bread (it's how my Mom always made it), but you can use any chopped nuts.

Pour into greased loaf pans and bake at 350 degrees for about 50-60 minutes or until a toothpick inserted into the middle of the loaf comes out clean. I started checking the minis at about 40 minutes in case they cooked faster since they are smaller.

Let loaf pans cool down for about 10 minutes before removing bread from pan and transferring to a wire rack.

Slice and serve! I'll be honest, normally I like to spread a little butter on my banana bread. This was so delicious and moist, it didn't even need the butter! I would have liked to have taken a nice final picture on a platter... but with how good this was making the house smell while it baked, my Things pounced on it the minute it cooled down enough to eat. This bread also freezes great, so just pop it into a Ziploc freezer bag, place it in the freezer, and then pull it back out and defrost when you are ready for it.

Wednesday, March 26, 2014

March Kiwi Crate

Thing 2 was sick today, so we couldn't go out. Had to do a lot of quiet rest time just watching TV and napping on the couch. Which left for a very understanding but bored big brother. When he asked for the 10th time... "Mommy what are we going to do today?" I decided it was time to bust out our first Kiwi Crate box. We opened it up and went through the different activities. Kiwi Crate is great because they literally give you all the materials you need and they include very clearly written step by step directions with kid friendly illustrations. There were two big activities and then some additional things they could do with coloring, role playing, etc. The theme this month had to do with gardens. We decided to do "My Window Garden" first. It came with everything we needed to make the garden and even has a journal where they can record their observations each week. I also liked that in the instruction book it gave guiding questions to ask and some suggestions for extension activities to do with the extra materials. (The teacher in me was loving this!)

Thing 1 decided to color the inside of the box first and color and cut out the little paper "dolls" that you can use to role play with first.

Getting down to business making his Window Garden. Putting in the soil pellets first.


Adding some water to make the soil pellets expand.

Adding bean and squash seeds

Writing his label stickers for the plant labels


All done and hung in the kitchen window!

Thing 2 decided he was feeling well enough to come do his window garden too.


Water vs No water


All done and hung in the kitchen window with Big Brothers!

Both boys' window gardens hanging in the kitchen window where we get decent sunlight most of the day. (Ignore my streaky windows! lol! Guess I need to clean them again!)

We really liked our first Kiwi Crate activity. The kids had a lot of fun and I like that one of the activities was science based and the other (which we didn't do yet) is art based. It definitely appeals to kids and their varied interests!

Sunday, March 23, 2014

Thing 3's Announcements


Can't help but share these. We have a wonderful photographer, Kellie Gillis, who took Jackson's newborn pictures and created his birth announcement. We'd worked for months prior to him being born coming up with the idea and I just love how it turned out. And this is just the tip of the iceberg... can't wait to share pictures from his entire newborn shoot!

This is the front side of the card

This is the back side of the card

We just heart this lil guy so much!

Saturday, March 22, 2014

Skinny Shrimp and Scallop Scampi


So I woke up this morning and immediately began planning out our day. I had high aspirations of making shredded chicken using my crock pot and stand mixer so I could freeze it. I had seen a recipe posted from one of my favorite blogs and I'd been wanting to try it out. I planned on getting all the bedding stripped and washed, going to the gym, and exploring our new Kiwi Crate project box. For dinner tonight I planned on pulling a meal from the freezer that I'd previously made. All in all it was supposed to be an easy laid back day.

Then I remembered that the boys started swim lessons today and the lessons carry through the rest of the week conveniently during dinner time. So I decided to hold off on the freezer meal so I could do it later this week and instead decided to make dinner tonight. I wanted something easy and quick though and I wanted to use ingredients on hand... because let's be honest... after swim lessons, I did not want to be trekking my three to the grocery store to go shopping. I decided on making shrimp scampi. After scouring my pinterest boards I decided to try out the following recipe with some adaptations: Skinny Shrimp Scampi.


I thought the recipe came out pretty good. I'll definitely make it again. The original recipe called for shallots which I didn't have so I just added an extra clove of garlic. The original recipe also called for 3 Tbsp of white wine.. so I upped the ante a little and just went for a 1/4 cup. What can I say... I like my wine. I didn't have fresh parsley so I just sprinkled some dried parsley on at the end. And I was too lazy to measure out the lemon zest and juice so I just zested my lemon and juiced the lemon right into the pan.

I served this with a side of steamed asparagus and it was a light filling meal. I have to be honest and admit that I knew that Thing 1 and 2 probably wouldn't eat it, so I heated up some spaghetti sauce and mixed in a little shredded chicken (which I did end up having time to make and freeze) for protein and gave them that instead.

Ingredients:

  • About half a box of pasta (I used linguine and how much you need depends on how many you are feeding)
  • 1 Tbsp of butter
  • 5 cloves minced garlic
  • 1 lb raw shrimp (cleaned and peeled)
  • 1/2 tsp crushed red pepper
  • 1 tsp salt
  • 1/2 tsp pepper
  • lemon zest
  • juice of one lemon
  • 1/4 cup chicken broth
  • 1/4 cup white wine
  • 1/2 lb bay scallops
  • optional garnish: Parmesan cheese and parsley (I used dried)

Directions:

Begin cooking the pasta according to the directions on the package. I always add a little olive oil to my boiling water to keep the pasta from sticking to the pot.

Melt butter in a large saute pan over medium high heat. Add garlic and saute for about a minute. Add shrimp and sprinkle crushed red pepper, salt, and pepper over the shrimp. Cook shrimp until the shrimp is pink on both sides.

Use a zester to zest the lemon directly onto shrimp in pan. Then cut lemon in half and use a juicer to juice the lemon into pan. Add chicken stock, wine, and scallops and stir to combine. The scallops cook even faster than the shrimp so I wait til this step to cook them so they don't get over cooked and rubbery. Cook until the scallops have cooked through and the mixture has cooked down.

Drain pasta and pour pasta into serving dish. Pour mixture over top and add Parmesan cheese and/or parsley.

Serve and enjoy!